If you have not, read part 1 first, as this will give you a primer on how I cultured wild lactobacillus. WARNING: another long-winded post on things that you probably don’t care about unless you are a nerd like me!

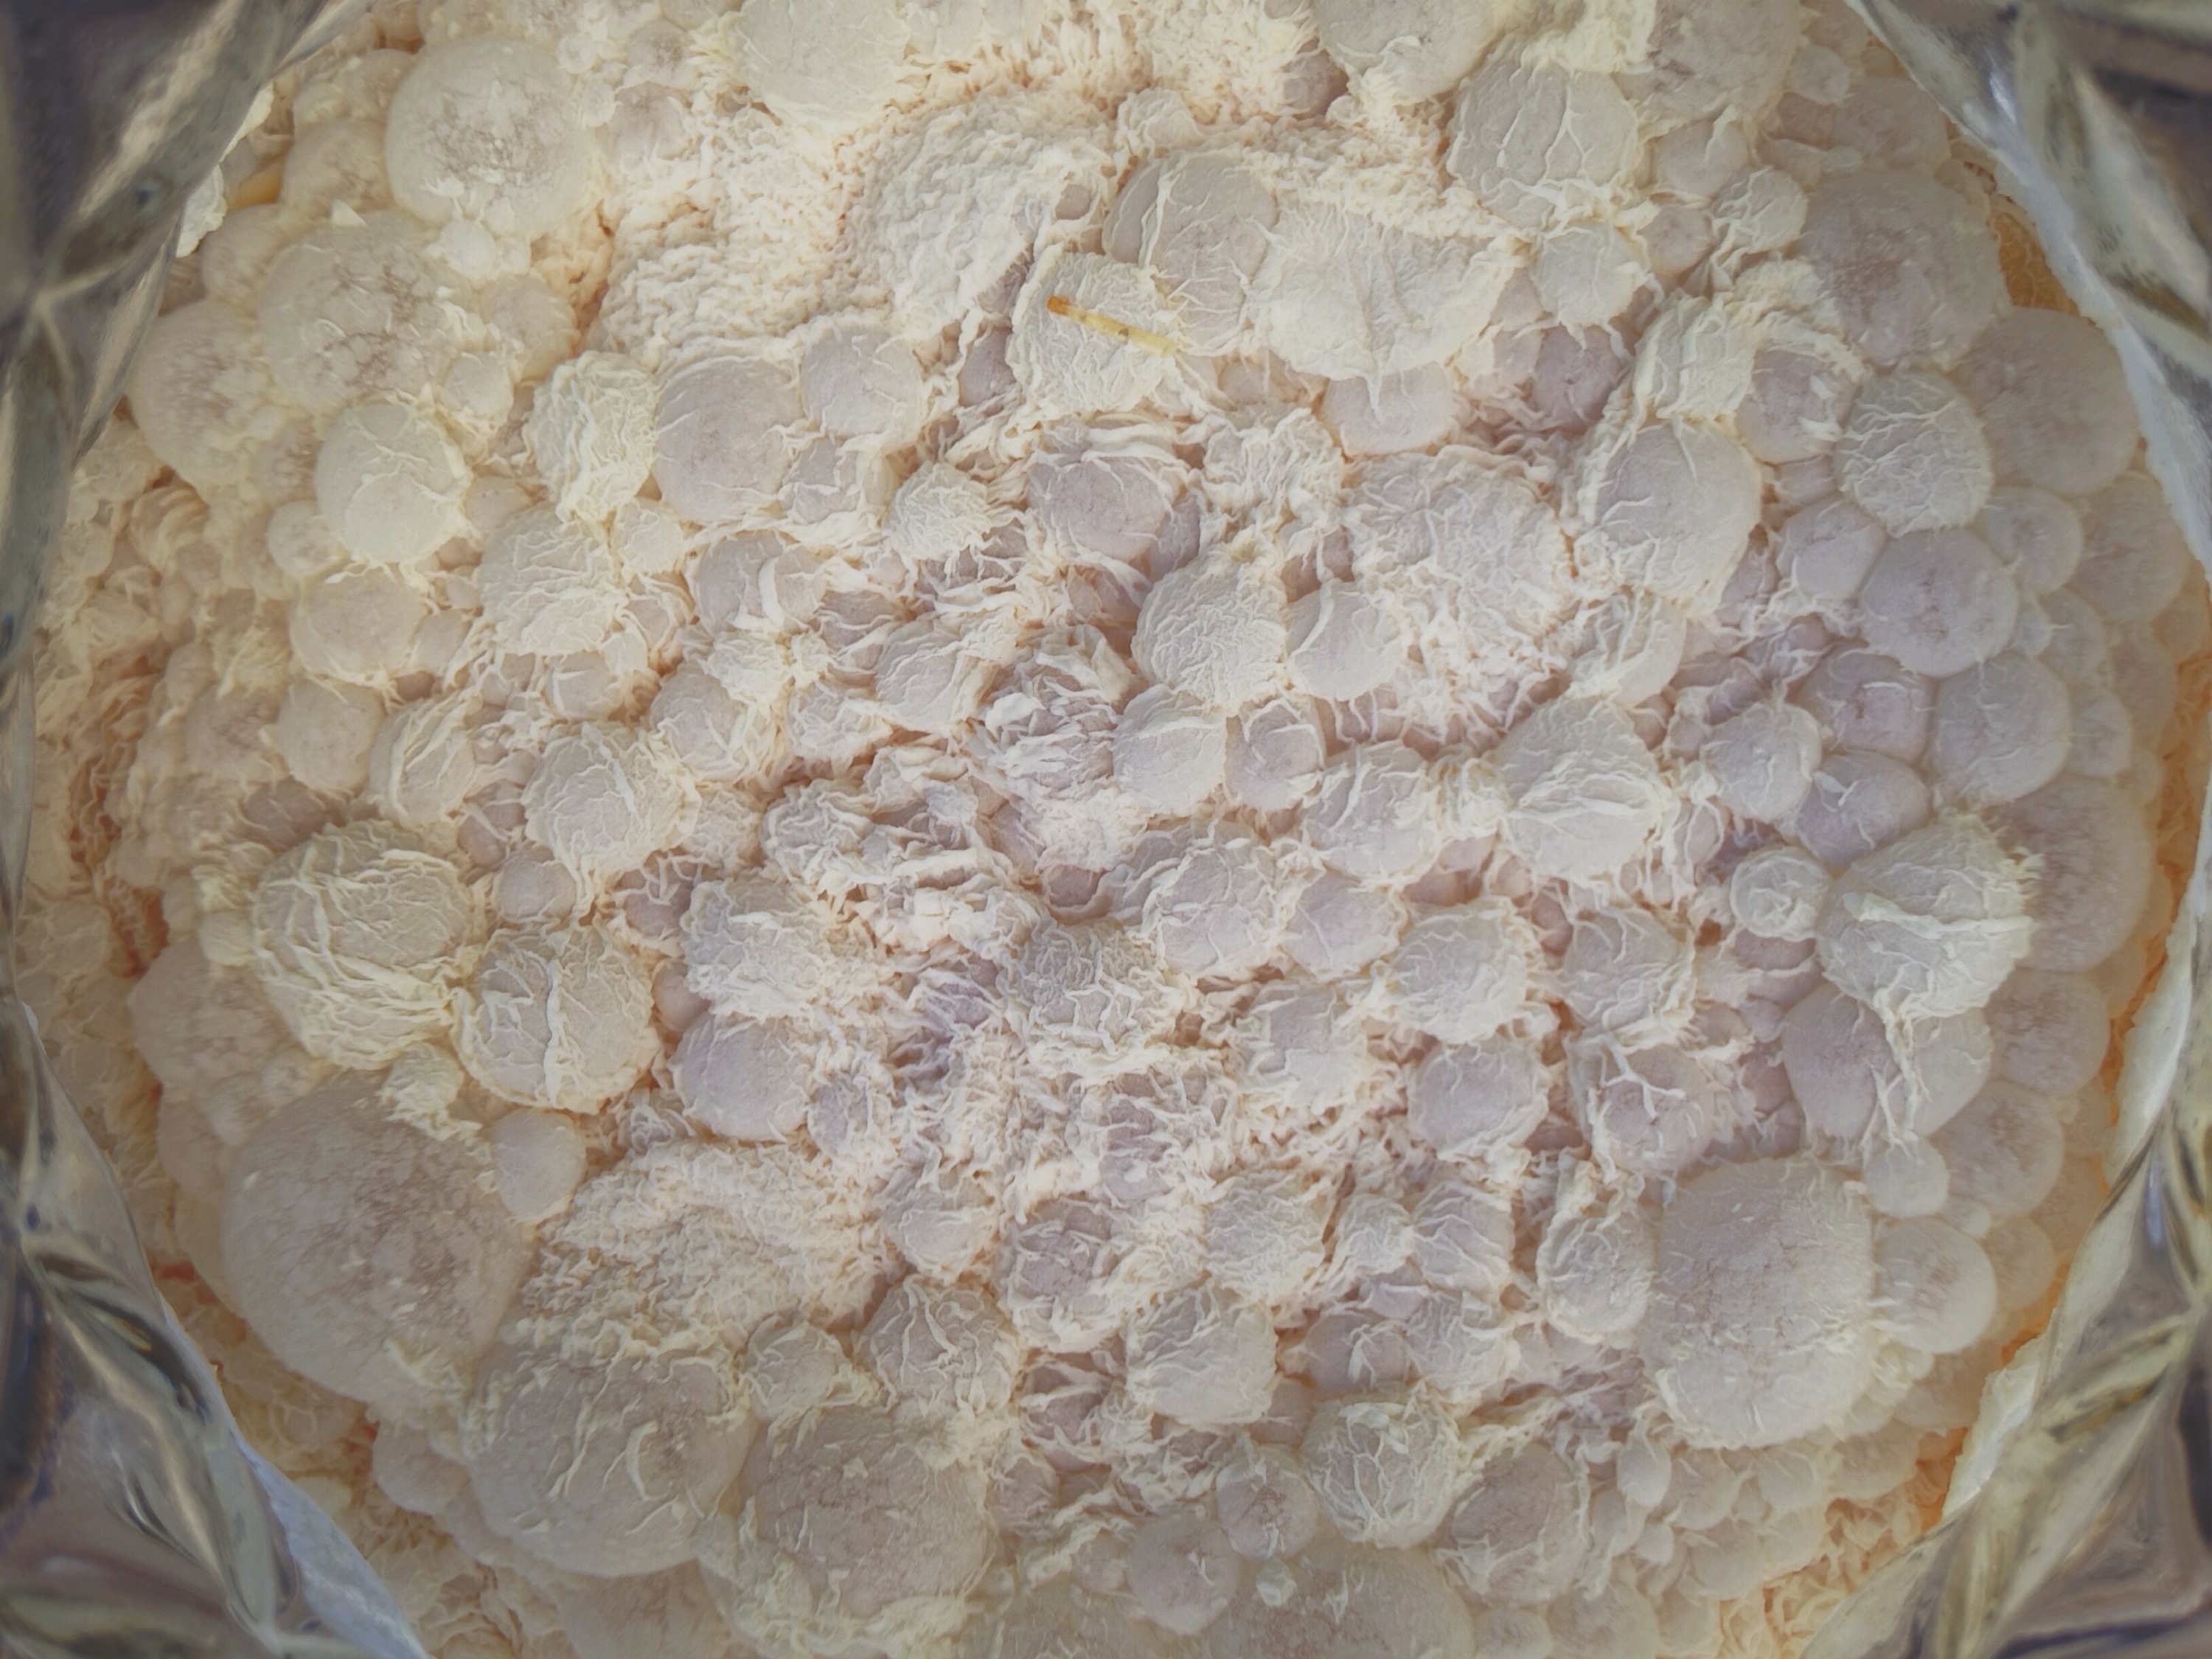
After nearly a week of letting my lactobacillus starter sit outside, the pellicle inside was huge and it smelled like lemon yogurt. I finally brewed the beer. The plan was for this to be a sour saison. I added some rye malt as well, to ensure that there’s a more complex malt character and so that this doesn’t turn too thin and weird if the lactobacillus I cultured sucks.
At this point, you have a couple of options on how you can add the lactobacillus: (more…)
2013 was a great year for us and we want to thank you all for continuing to read and share our articles, tagging your photos #hookedonhops, and saying hello to us when we are out at a bar or festival. We appreciate all of it, and we are excited for what’s to come in 2014!
In the meantime, I have compiled the articles and topics that were the most popular over the past year. Enjoy! (more…)
If you read my post on glassware, then you should be aware of how important your sense of smell is in affecting your flavor perception. Going along the same lines of of proper tasting techniques, I thought I’d expand a bit further and talk about the flavors that you don’t want to taste.
Simply put, off flavors are the wrong flavors, the bad flavors, the flavors that aren’t supposed to be there. Why would anyone want to be able to recognize these flavors? If you are a brewer, it is important to know when something is negatively impacting the flavor of your beer. If you serve beer, it is important to know that you are serving your patrons the best quality beer, free from imperfections, to give them the best possible experience. What about all the other craft beer drinkers? Should they go through some sort of off flavor training? On the one hand, it is highly beneficial to be able to tell when the your beer in your fridge isn’t fresh anymore and should be tossed, or whether something is wrong with your beer when you go out to bars. On the other hand, once you learn to recognize off flavors, there’s no unlearning what you know. You’ll see (taste?) everything in a whole new light. Certain flavors will just stick out to you, but stay hidden to anyone who hasn’t gone through off flavor training.
I won’t go into too much detail about specific off flavors. Instead I want to focus on some guidelines of the two common places that off flavors become produced: During fermentation, and storage/serving.
During fermentation:
Most off flavors are actually normal byproducts of fermentation. If you go to White Labs’ website for example, they will give you the specific amounts of different off flavors that their yeast produce. Depending on the style, some of these off flavors are expected, and even desired. British yeasts will typically have more diacetyl than other yeast strains, and lager yeasts usually produces more acetaldehyde than other yeast strains. Improper techniques can exasperate these flavors far more than they should be, and they will then become detrimental to the beer.
There are other off flavors that can be produced durning production by other sources besides just the yeast. Again, these can be controlled by proper brewing techniques. These are out of a customer’s control, and thankfully, usually not noticed in commercial level brewing, so I won’t detail any of these specific flavors. Homebrewers however, would greatly benefit from studying these further. There are links at the end for further study.
Improper Storage/Serving:
All of the off flavors that can be produced during this stage can be prevented. Anyone who serves beer should be well aware of how to prevent these, as well as anyone who cares about drinking beer the way it’s supposed to be enjoyed.
The most common off flavor in this regard would be oxidation. Oxidation occurs when beer gets in contact with oxygen. Despite being sealed, beer bottles are not air tight and over time, will slowly get more and more oxidized. This is why it’s best to always drink beer fresh. Heat will increase the speed at which oxidation occurs, which is why it is best that beer stays refrigerated as much as possible.
Oxidized beers will develop a variety of different flavors, with papery/cardboard like being the most common. If you don’t understand what I’m talking about, suck on a wet piece of a cardboard box and you’ll get the idea. A little vinous or sherry like flavors can also develop. While these flavors are ideal in a barley wine (explained further here), in average alcohol strength beers, these flavors make the beer a bit unpleasant.
Keep beer out of sunlight, especially if it is a hoppy beer. Fun game: pour an IPA into a clear glass and leave it out in the sun for twenty minutes then drink it. Yeah, that’s what a skunked beer tastes like. The sunlight will literally take elements of the hop compounds in a beer, and convert them into essentially the same compound that gives skunk spray it’s wonderful aroma.
Lastly, if you serve beer from a tap, CLEAN YOUR TAP LINES! Beer has residual sugars and various trace minerals. Failure to clean tap lines means these sugars and minerals begin to coat the interior of the beer line. Once it starts to build up, it begins to harvest bacterias that alter the flavor of the beer. Typically, the flavor will start to become slightly acidic, or sour, and simultaneously becomes a bit buttery. The buttery flavor is from a compound called diacetyl, the souring is from a bacteria known as Pediococcus. To prevent these types of off flavors, it is important to clean your tap lines at least every two weeks! Only flushing your lines with water does not count as cleaning them. Sadly, to many bars around town, this standard sounds over dramatic. Trust me, there is a difference in flavor and aroma when you have a beer from a bar that cleans their tap lines regularly, and one that doesn’t.
For more information on off flavors, this guide from MoreBeer! is very helpful. Otherwise, feel free to ask!
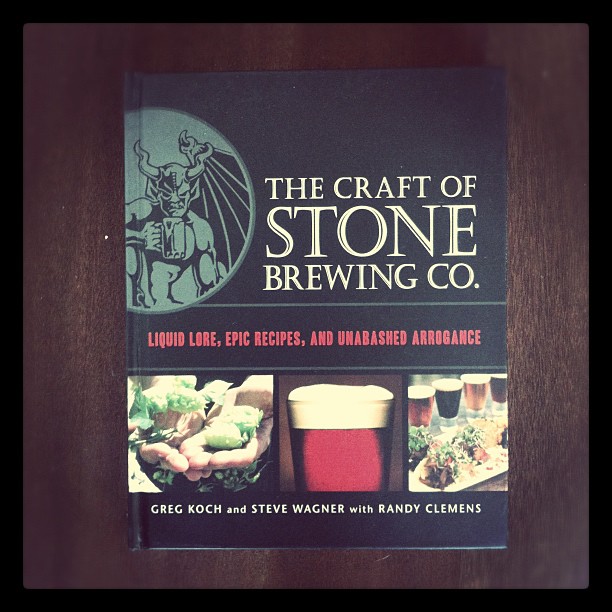
A vast and expansive book, The Craft of Stone Brewing Company succeeds in so many levels for its varied topics and sections. You need not only be a Stone fan, or even a beer fan, to enjoy this book as it also includes various food recipes as well. Even better, the entire book is written in the same arrogant sarcasm that Stone is known for. After all, the subtitle is Liquid Lore, Epic Recipes and Unabashed Arrogance!
While the book does include other topics, the main point of the book is on the company. The history of how Greg Koch and Steve Wagner met along with how the company grew is detailed. The book is filled with side bars from each other giving different perspectives on how each felt at different stages. Also included is stories of other people involved in the history, like the illustrator for the now recognizable gargoyle motifs.
The real highlight in this section is the history of their beers. Every official beer they’ve made is listed along with a brief history or flavor profile and primary hops used. Also included are each year of their anniversary beers, each year of their Vertical Epic series and their collaborations. The only beers not listed here, are the ones released after this past spring and their beer variations (bourbon aged, double dry-hopped, chipotle pepper etc).
The other section of the book that deserves a mention is the recipes. Recipes included are from Stone’s World Bistro and Gardens restaurant as well as a few extras. Many of the recipes can be used as a starting point for your own dishes such as Arrogant Bastard batter, hop vinegarette, or barbecue sauce.
The second part of this section is the homebrewing recipes. A brief overview of how to brew beer is provided for those new to brewing. Despite the short overview, it is a very thorough guide that can definitely be used as your only source for beginning to homebrew. Recipes include a few of Stone’s year-round beers as well as some of their anniversary and collaboration beers. This chapter really highlights Stone’s open honesty, and even arrogance, in that they are giving you recipes for their beers. They even give you the water profile for their brewery so you can match their water chemistry. A few obvious beers are omitted, like Arrogant Bastard, but nonetheless, they are willing to share their secrets. It’s almost as though they are daring you to attempt to recreate their beers.
As I mentioned in the beginning, this is a very thorough, entertaining book, well worth the read for any food or beer aficionado.


First, some history
The original: I brewed a pale ale for my first beer. I wanted to try and make a beer as simple as possible but with as much flavor as possible. Pale malt, centennial hops. Thats it. The result was good, however very one dimensional.
The new: I wanted the beer to have a more complex flavor, while still keeping the ingredients simple. First, I added honey. Not too much honey, not enough to taste it but enough to add to the flavor. Second, I rearranged the hop additions. The measured bitterness between the two was the same (~40 IBUs) however more was shifted earlier in the boil, giving the beer additional bitterness. Also, I added over 5 times as much hops after the boil, adding hop flavor (not bitterness) and aroma.
The result: The flavor has completely changed. Rather than a plain bready body and yeasty aroma, there is a rich citrusy smell and a sweet complex flavor. The bitterness still falls within the pale ale range, nowhere near the range of my IPA, but acceptable.
I bottles this last week. Really, I should be waiting 2-3 weeks to drink it but I couldn’t wait. The result was carbonation that dissolved away too quickly. The next 2 weeks will condition the beer to hold onto the carbonation better.
I’m very excited for this beer.


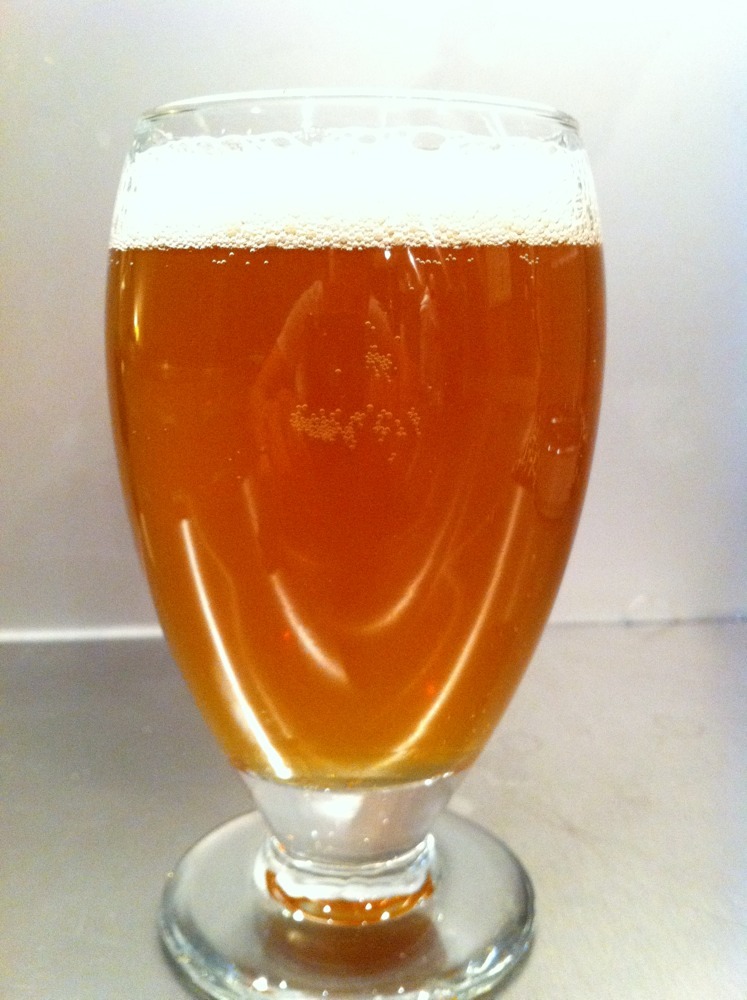
Look at the red hue along the edge.
I’ve started brewing again since I had to dump the last few batches of beer and am in different stages of 3 new beers.
Cinnamon Porter: I brewed this three weeks ago and I just bottled it yesterday. Because my beers are bottle-conditioned, it will be at least another 3 weeks until it’s “ready.”
I purchased an ounce of cinnamon sticks to be used in this beer. .25 ounces was put in at the end of the boil. This was mostly because I was undecided when it was I should be adding the cinnamon. I was set on adding it to the fermenter but I thought I’d throw some in the boil to for good measure. The other .75 ounces was put in a cup of Crown Royal whisky with a little bit of vanilla extract added as well. This was left to soak for the entire first week that the beer was fermenting. Few reasons for this: One, anything you add to the fermenter must be sanitized. The typical way to add something like this would be to soak it in a little bit of boiling water for about 15 minutes, then cool it, and dump all of it, water included, into the fermenter. I wasn’t fond of adding water to the fermenter so I opted to soak it in whisky instead. The high alcohol content of whisky makes it sanitary and it tastes better than water. I waited a week to pour it in to ensure the cinnamon sticks really soak in the whisky. Also, the first week is when the yeast are actively converting the sugars and there’s a lot of activity going on in the beer. Adding hops, or anything else, during this time can result in the flavor being lost due to the fermentation process. After the first week, the actual fermentation is complete and the beer is conditioning or settling out some of the flavors, so it is ideal to add it then.
The color is very dark, almost black. However, swirling the beer around shows a reddish hue. The cinnamon gives the porter a nice smell as well as a different kind of bitterness than is usually present from the roasted malts or hops. The cinnamon isn’t too overpowering, but you definitely need to like cinnamon if you are going to drink it.
Honey Pale Ale: The very first beer I brewed was a pale ale that used only one malt and one variety of hop, centennial hops. I wrote that recipe as simple as possible just to get an idea of where to start when it comes to writing my recipes. Despite all my other beers since then containing various varieties of malts and hops, I liked the idea of making the same simple beer again, but attempting to improve the flavor. There are a lot of single malt and single hop beers (typically called SMaSH beers) that are very good. I think being able to make a really good beer with as few ingredients as possible is a sign of skill. So I changed the things I found boring in the first one.
First, I used a higher quality, Belgian pale malt this time around. The hops tasted great in the original, however it wasn’t quite bitter enough and there wasn’t as much aroma as I would like. So I adjusted the amounts and times that hops are added to accentuate the bitterness, but still keep it moderate to keep with the style. I am also adding twice as much hops in the fermenter (called, dry-hopping) to boost the aroma.
On top of those changes, I wanted an added sugar in there that would compliment the single malt without being too obvious. I added honey to this beer as well. Not enough that would change this beer in to a braggot (beer made up of 50% honey, 50% malt) but enough to make a light difference.
I brewed this last Sunday so it is currently fermenting away. I’ll dry hop it this upcoming Sunday and from there, it will be about 5 weeks until it is ready.
IPA: I was very impressed with the IPA I previously brewed. The feedback I got from the people who have tried it was that they were as well. However, I did find it lacking in a few areas. Much like my pale ale, I modified the recipe to try and improve the flavor.
Cascade hops were the only variety used in the original. It had a great bitterness, however it wasn’t as complex in flavor as I would have liked. This time around I purchased chinook hops to use as well. Drink a Stone Arrogant Bastard to get an idea of what these hops taste like. I add hops several times during the boil in this recipe. The chinook hops will be primarily added in the first half, where as the second half will use primarily cascade hops. Chinook hops have a higher alpha acid (bittering component in hops) so they are better suited in the beginning, where as cascade is better suited as an aroma hop to be added at the end of the boil.
The original IPA, just like the pale ale, was really lacking in the aroma department. So, once again I am adding twice as much in the fermenter. Not only that, I am going to be using citra hops. Citra hops are a newer variety of hops that are popularly used as a bittering hop, or to dry-hop beers with. They have a very citrusy flavor and smell so they are perfect for IPA’s.
Very few places sell citra hops, since they are less common and a bit more expensive. Most places I checked either didn’t carry them, or were sold out. I found a site that had both pellets and whole leaf hops. Briefly, these are the two common ways to buy hops. Whole leaf hops are hops plucked from the vine and packaged. Pellet hops are hops that are ground and compacted into little pellets. Pellets are typically more common since they take up less space and are easier to filter out when brewing. However whole leaf hops are ideal for dry hopping as they add a fresher aroma. If I’m going to buy citra hops to dry-hop the beer, I figure I should buy the whole leaf. This will be the first time I use whole leaf hops. I am very excited to see how this beer turns out! I am going to brew it Wednesday.
After these three beers, I need to take another short break from brewing as I will be moving. Rest assured, the next few beers are already planned out: First, I’ll be making what will basically be the brown ale version of the pale ale, however I will be using maple syrup. I also plan on buying a fresh pumpkin and brewing a smoked pumpkin porter! This will be quite an involved process to make. Due to the amount of ingredients I will be adding to this beer, it will be a small batch, but it will be worth it!


